


How to Clean and Maintain lumbar support recliners

A lumbar support recliner lasts longer when you clean it by the care label first and keep upholstery care separate from power-mechanism care. That is the safest way to protect the finish, the support feel, and the moving parts. If the label is missing, start with the mildest method and test it in a hidden spot.

Start With the Care Label
The first step in how to clean lumbar support recliners is to find the upholstery code on the tag, manual, or product listing. The common codes are simple: W means water-based cleaners, S means solvent-based cleaners, WS means either one, and X means vacuum only or professional care. Frontgate's upholstery care code guide is a useful reference for reading those letters correctly.
That label should outrank generic cleaning advice. If the chair has a specific code, follow it before you choose soap, spray, conditioner, or upholstery cleaner. If the tag is missing or unreadable, treat your next step as a cautious fallback, not a universal fix.
Also check whether the recliner has power controls, charging ports, removable cushions, or stitched lumbar zones. Those details change where moisture can go and how much pressure is safe. For shoppers comparing fabrics, performance fabric durability basics can help you understand why one chair tolerates day-to-day cleaning better than another.
A useful decision sentence: if the care label is clear, follow it; if it is missing, use the mildest method first; and if the material is still unclear, stop before using any liquid cleaner.
Clean Upholstery Without Over-Wetting
For most recliners, the safest routine starts with dry care. Vacuum crumbs and dust from seams, creases, and the space where the seat meets the back. Then spot-clean only the area that needs attention. Blot first, work gently, and keep liquids away from stitched lumbar sections and control zones.
Fabric and Performance Fabric
Fabric and performance fabric usually need the same discipline even when performance fabric is easier to maintain. Vacuum before you apply anything. If the code allows a cleaner, test it on a hidden area first, then use a small amount rather than soaking the surface. That matters because rubbing or over-wetting can spread a stain deeper into the weave.
If you want more background on how stain-resistant claims and weave structure differ, this performance fabric overview is a helpful follow-up. It will not replace the care tag, but it can help you judge what kind of day-to-day cleaning a fabric is likely to tolerate.
What to avoid: do not scrub hard, do not flood seams, and do not spray cleaner directly onto the chair. That is especially important on a lumbar support recliner, where liquid can migrate toward stitched sections and control areas.
Leather and Faux Leather
Leather and faux leather usually prefer a lighter touch. Dust first, then wipe with a soft cloth that is only slightly damp, followed by a dry cloth. Harsh solvents, abrasive pads, and heavy soaking can dull the finish or leave marks that are hard to blend out.
If the manufacturer approves conditioner or protectant for that exact surface, you can use it as a finishing step. If approval is not clear, skip it and stay with gentle cleaning only. For a recliner that combines leather upholstery with power features, keep your cleaner away from switches and seams so you do not create a second problem while fixing the first.
Spot-Cleaning Common Spills
For spills, the order matters more than the product. Blot immediately, then work from the outside of the spill inward so you do not widen the stain. Use only the amount of moisture the upholstery code allows. Water, coffee, snack grease, and juice all behave differently, but the same rule applies: start small and stop before the fabric gets soggy.
A quick decision rule: if the spill is sitting on the surface, blot it; if it has already soaked in, pause and confirm the code before adding more liquid. The goal is stain removal for upholstered recliners without turning a small spill into a larger cleaning issue.

Maintain Power Lumbar and Reclining Parts
Powered recliners need a different care routine from the upholstery. Always unplug power furniture from the wall before cleaning or maintenance, especially if you are working near controls, ports, or moving parts. That one step removes an avoidable electrical risk while you clean around the chair.
Wipe buttons, remotes, and ports with a dry or barely damp cloth. Keep cleaner sprays away from openings, seams, and control clusters. If the recliner uses a motorized lumbar system, do not open the housing or try to service internal parts yourself. If the mechanism jams, stalls, or behaves unpredictably, stop and consult the manual rather than forcing it.
For moving metal joints, a small amount of silicone-based lubricant may help when the manufacturer or care guidance allows it. Gardner-White's maintenance guidance ties that step to the metal joints and moving parts, not to upholstery, switches, or motor housings. Use it narrowly, not as a general cleaner.
Keep children and pets away from open reclining mechanisms. The U.S. Consumer Product Safety Commission has warned about accidents around exposed recliner parts, so this is one area where a quick safety check is worth the extra minute.
A useful rule of thumb: dry wipe the controls, vacuum the undercarriage, and treat lubricant as a targeted maintenance step only for approved metal joints.
Build a Simple Care Routine
A steady routine is easier than occasional deep cleaning. Weekly, vacuum the seat, back, seams, and the floor space under and around the recliner. Monthly, check for crumbs, dust buildup, loose feeling spots, and any change in how the lumbar support moves. Seasonally, do a more careful inspection of stitching, ports, and exposed joints.
If you want a broader maintenance reference, this recliner care routine can help you think through the power-furniture side of the chair. Use it as a general check-in, not as a substitute for the owner's manual or upholstery label.
The best habits are simple: keep food and drinks away from the chair when you can, blot spills right away, and vacuum before dust settles into the moving parts. If you have pets, check the seat and base more often because hair and grit can collect where the eye does not notice them.
Safe Maintenance Actions by Recliner Zone
This zone map helps you choose the safest maintenance action first, then check the manual if the mechanism acts strangely.
Safe Maintenance Actions by Recliner Zone
Use this zone map to choose the safest cleaning or maintenance action first, then check the manual if the mechanism behaves unpredictably.
View chart data
| Scenario | Label first | Unplug before cleaning | Dry or barely damp wipe | Blot and spot-clean | Vacuum under and around | Silicone lubricant when appropriate | Stop and consult manual | Keep children and pets away |
|---|---|---|---|---|---|---|---|---|
| Upholstery | 1 | 0 | 2 | 2 | 0 | 0 | 0 | 0 |
| Controls | 2 | 2 | 1 | 0 | 0 | 0 | 2 | 0 |
| Undercarriage | 0 | 0 | 0 | 0 | 2 | 2 | 2 | 2 |
When Cleaning Breaks Down
Do not keep pushing if the chair still looks worse after a mild first pass. Stop and reassess when a stain spreads, a finish starts to cloud, a seam feels damp, or the mechanism begins to sound different. Those are the moments when a "stronger" cleaner can make the problem larger.
For everyday ownership, the rule is simple: label first, minimal moisture second, and power parts last. If you follow that order, you lower the chance of damaging the upholstery or the mechanism while keeping the recliner comfortable and usable.
Related Resources
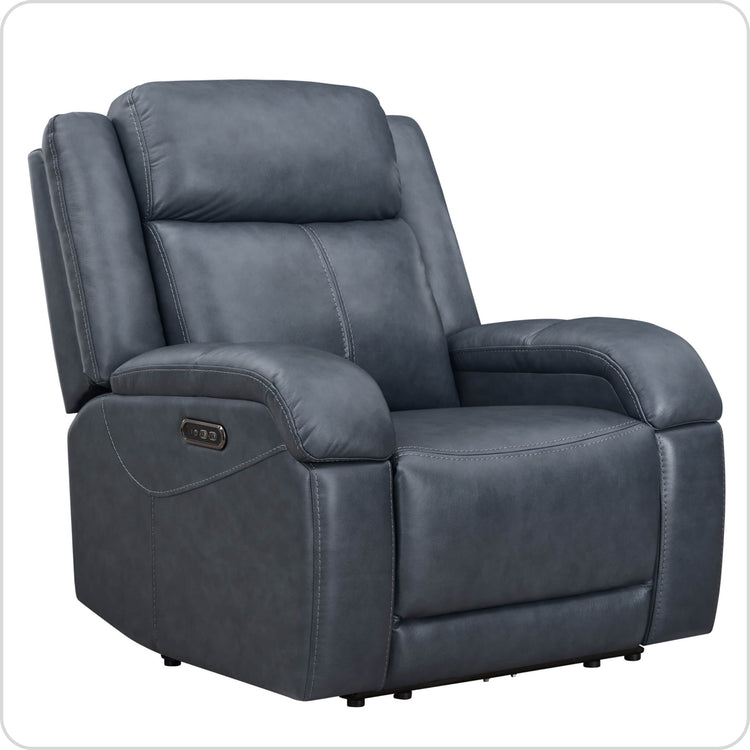
- Noah Zero-Gravity Genuine Leather Recliner with Power Headrest
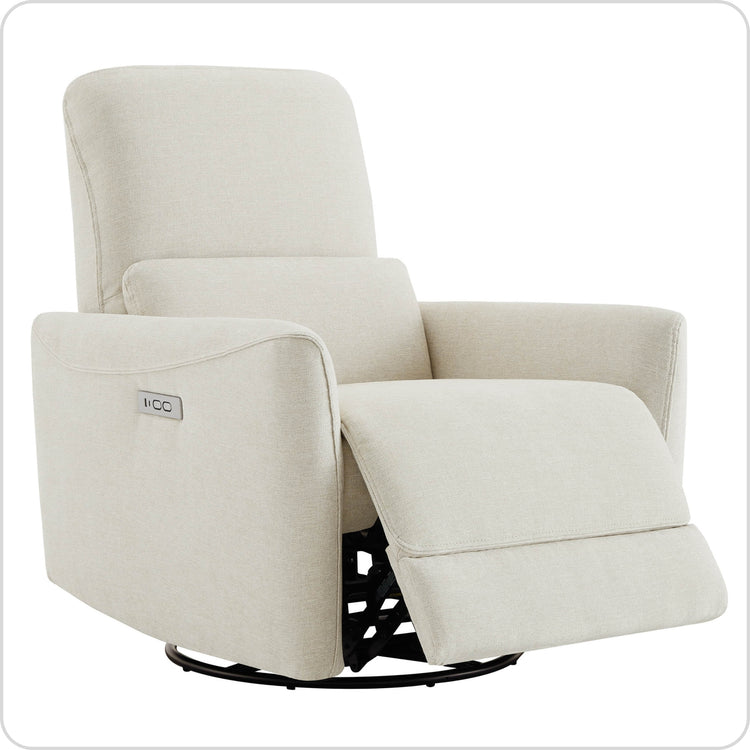
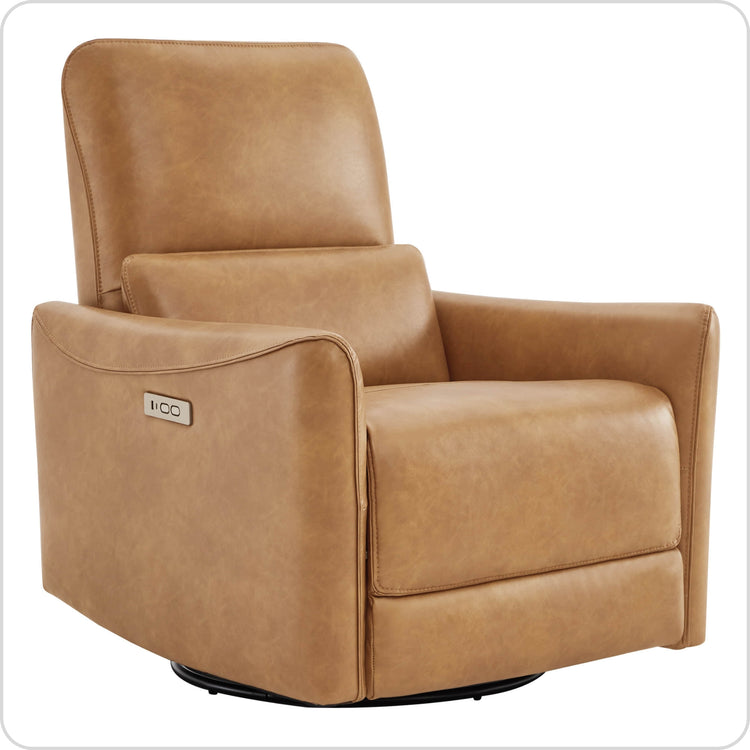
- Vinca Power Swivel Nursery Glider Recliner with Power Lumbar & Headrest
- Sable Super Zero-gravity Triple-Motor Power Recliner with Storage
- Swivel Recliners
FAQ
What Cleaners Are Safest for a Lumbar Support Recliner?
The safest cleaner is the one your upholstery code allows. In practice, that usually means water-based cleaner for W fabrics, solvent-based cleaner for S fabrics, either for WS fabrics, and vacuum-only or professional care for X fabrics. If you are unsure, use the mildest approved option and spot-test first.
How Often Should I Clean a Lumbar Support Recliner?
Light vacuuming and dust removal should happen regularly, with spills handled right away. A more careful check of seams, controls, and moving parts can be done monthly or seasonally, depending on how heavily the chair is used. High-traffic family rooms usually need more frequent attention than a guest room.
Can I Use a Steam Cleaner on My Recliner?
Only if the manual explicitly approves it. Steam can push moisture into seams, stitched lumbar zones, and powered components, so it is usually a poor default choice for power recliners. When in doubt, stick with dry vacuuming, blotting, and low-moisture spot cleaning.
How Do I Clean Around Power Buttons and Charging Ports?
Unplug the chair first, then use a dry or barely damp cloth around the controls. Do not spray directly onto buttons, ports, or seams, and let the area dry completely before use. If liquid enters a control area, stop and check the manual before powering it back on.
Why Does My Recliner Start to Feel Less Supportive?
Sometimes the issue is simple buildup, like debris in the seams or undercarriage. In other cases, the cushion foam is compressing, or the mechanism is no longer moving smoothly. Clean the chair first, then test the motion. If the support still feels off, review the manual or contact the manufacturer.
Final Takeaway
The best way to care for a lumbar support recliner is to follow the label, keep moisture low, and treat powered parts with extra caution. Clean the upholstery gently, unplug before working near controls, and vacuum the undercarriage so grit does not build up. If the chair starts acting differently, stop early and check the manual before the problem grows.
Recommended Products


More to Read
 7 Sofa Trends That Actually Improve Comfort in 2026
Upgrade your living room with furniture that supports your body. Here are 7 modern sofa features designed to maximize your daily comfort...
7 Sofa Trends That Actually Improve Comfort in 2026
Upgrade your living room with furniture that supports your body. Here are 7 modern sofa features designed to maximize your daily comfort...
 Mother's Day Gift Guide: Cozy and Stylish Furniture Picks for Modern Moms
Make Mother's Day more meaningful with furniture gifts that bring comfort, smart features, storage, and quiet luxury into her everyday routine.
Mother's Day Gift Guide: Cozy and Stylish Furniture Picks for Modern Moms
Make Mother's Day more meaningful with furniture gifts that bring comfort, smart features, storage, and quiet luxury into her everyday routine.
 Performance Fabric Reality Check: Does It Really Repel Pet Hair and Stains?
Performance fabric is often marketed as a miracle solution for homes with pets and kids, but the reality is more nuanced. It...
Performance Fabric Reality Check: Does It Really Repel Pet Hair and Stains?
Performance fabric is often marketed as a miracle solution for homes with pets and kids, but the reality is more nuanced. It...