


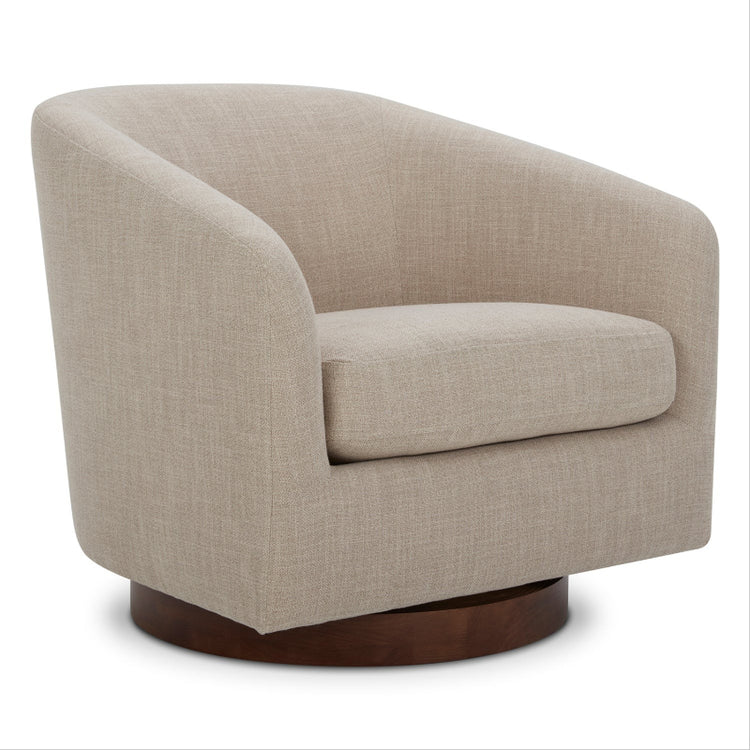


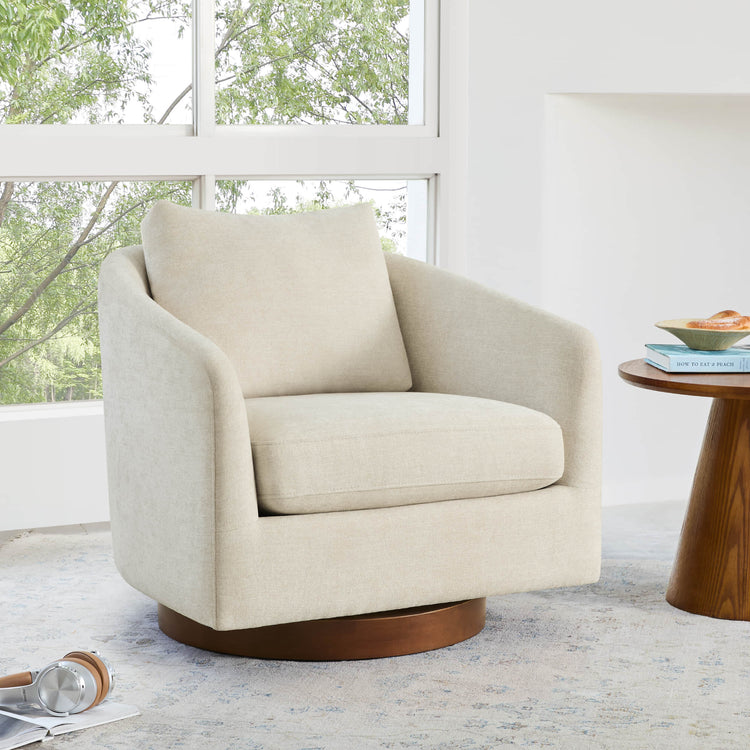


How to Clean and Maintain wall-hugger base recliners

How to clean and maintain a wall-hugger recliner comes down to two separate jobs: caring for the upholstery and caring for the moving base. If you own a wall hugger recliner, start with the care tag or manual, clean the surface by material, and treat the mechanism as its own system. For power models, unplug first before you work near cords, switches, or the base.

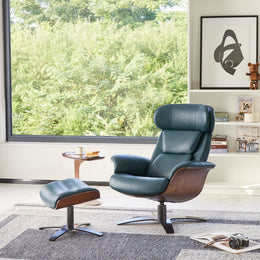
What Makes Wall-Hugger Recliners Different
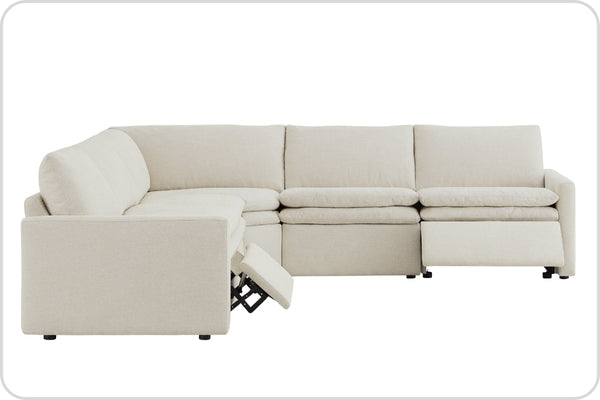
A wall-hugger recliner is built to move with less rear clearance than a standard recliner, which is why the base, tracks, and joints need regular dust removal. Crumbs and grit can collect in tighter spaces, especially around the frame and underside. That is also why how to clean and maintain wall-hugger recliners is not just about wiping the seat; it is about keeping the motion path clear.
The first check is the material, because upholstery care depends on the surface code, not on the recliner style. If you are comparing powered seating, a broader guide like power reclining basics can help you think through mechanism differences before you buy. Use the care tag, then choose the mildest method that still fits the fabric.
A wall-hugger recliner can look simple from the outside, but the hidden motion hardware is what usually causes regret when it is neglected. Clean the upholstery and the mechanism as two different tasks, not one.
Daily Cleaning and Spill Prevention
For most owners, the easiest maintenance is a quick weekly reset. Use a vacuum with a soft brush attachment to lift dust, pet hair, and crumbs from seams, side panels, and the base. A dry microfiber cloth works well for surface dust on many finishes. If the care tag allows a damp wipe, keep it light and dry the area afterward.
For leather and leather-like finishes, a gentler routine often matters more than frequent scrubbing. A leather care routine is useful context if your recliner uses a similar surface, but still follow the recliner's own label first. The point is to avoid saturating stitching, trim, or control areas.
Spills are where people usually overcorrect. Blot first, do not rub, because rubbing can spread the stain and roughen the surface. Work from the outside toward the center so the spill does not widen. If the material is unknown, stay with dry dusting and very light wiping until you confirm the cleaning code.
A simple rule helps here: if the surface starts to darken unevenly, pill, or feel sticky after a wipe, stop and let it dry before trying anything stronger. That is one of the most practical wall hugger recliner cleaning tips because it prevents a small spill from becoming a permanent mark.

Spot-Clean Stains Without Damage
The safest way to spot-clean is to match the cleaner to the code. Upholstery codes like W, S, WS, and X tell you whether water-based cleaner, solvent-based cleaner, both, or vacuum-only care is appropriate. That means the right stain method can change from one recliner to the next.
Start with a hidden test spot before you touch the visible stain. Wait for the test area to dry, then check for color change, edge darkening, or texture change. If the finish looks off, stop. That one check prevents a lot of avoidable damage.
For food, drink, or pet accidents, use a small amount of cleaner only if the code allows it, then blot and lift instead of scrubbing. A clean cloth should pull residue out in short passes, not push it deeper. If the stain is oily, heavy, or large, the safer move is often to stop early and use a professional cleaner or the manufacturer's guidance.
This section matters because how to clean and maintain wall-hugger recliners is as much about restraint as technique. Light moisture, small test areas, and patience usually beat aggressive products.
Care for Tracks, Joints, and Motor Areas
The moving parts deserve the same respect as the upholstery, but the cleaning method is different. Dust and grit around the base, hinges, and visible tracks can create squeaks, stiffness, or uneven motion. That is why a seasonal inspection is worth doing even when the chair still feels fine.
Before cleaning near powered parts, unplug the recliner from the wall. Power recliner safety is simple here: disconnect first, then clean around the mechanism. Do not spray cleaner into cords, switches, control boxes, or motor openings. Use a vacuum brush or dry cloth on accessible surfaces only.
Look for loose fasteners, snagged fabric, and obvious debris around the moving path. If the chair needs extra clearance from the wall, restore that space before you use it again. When a recliner starts to stick, stall, or make electrical noises, that is a stop sign for DIY cleaning.
If you are shopping for a model with a more visible powered base, powered recliner features can be a useful reference for the kind of upkeep those systems typically need. The main point is to keep the motion path clean without opening the mechanism.
Lubrication and Squeak Control
Lubrication is not a default step. Use it only after you have removed dust, confirmed the manual allows it, and verified that the noise is coming from accessible metal joints or moving parts. In that case, a recliner mechanism care approach may call for a silicone-based lubricant used sparingly.
The safest way to think about it is this: clean first, lubricate second, and use the smallest amount that makes sense. Excess product can attract dust and debris, which can make the problem worse over time. Wipe away what you do not need.
Do not put lubricant on upholstery, trim, cords, switches, or motor areas. And do not assume the same product or routine works on every wall-hugger recliner. If the manual does not mention lubricant compatibility, skip it.
If squeaks continue after cleaning and a basic inspection, the issue may be loose hardware, hidden debris, or a mechanical problem that needs service. That is the point where more DIY effort stops being helpful.
A Simple Maintenance Checklist
A practical routine is easier to follow than a big deep-clean project. Use this as a conservative home-care schedule for how to clean and maintain wall-hugger recliners:
- Weekly: vacuum seams, the base, and the underside with a soft brush attachment.
- Weekly: wipe the surface with a dry microfiber cloth, or a lightly damp cloth only if the care tag allows it.
- After spills: blot right away, test cleaners in a hidden area, and stop if the finish changes.
- Monthly: check for loose hardware, debris in the base, and new squeaks or stiffness.
- Seasonal: unplug power models and inspect around cords, switches, and visible motion points.
- Any time the chair changes behavior: pause DIY care and review the manual or contact service.
If you want extra protection for a high-use room, furniture protection can make sense as a browsing step, while recliners on clearance is a reasonable place to compare options before your next purchase. For buyers who prefer a specific powered model, this wall-hugger option and this zero-wall model are navigation points only, so check the current care details before assuming any material or mechanism fit.
Final Takeaway
The simplest way to keep a wall-hugger recliner in good shape is to separate fabric care from mechanism care. Clean lightly, match the cleaner to the upholstery code, unplug power units before working near electrical parts, and use lubricant only when the manual allows it. If the chair still squeaks or sticks after safe cleaning, stop there and get help.
FAQs
How Often Should You Clean a Wall-Hugger Recliner?
Light upkeep works best on a weekly rhythm, with spot cleaning only when spills happen. A deeper inspection once in a while helps catch buildup around the base and seams before it causes noise or stiffness.
What Cleaner Is Safest for Wall-Hugger Recliner Upholstery?
The safest cleaner depends on the care code. W, S, WS, and X each point to different cleaning methods, so the material label matters more than the recliner style. When in doubt, test a hidden spot first.
Can You Use Furniture Polish or Lubricant on the Mechanism?
Only if the manual allows it, and only on accessible moving metal parts. Keep any product away from fabric, wires, switches, and motors. If the chair is powered, unplug it before you clean near the base.
Why Does My Wall-Hugger Recliner Squeak After Cleaning?
The noise may come from trapped debris, loose hardware, or too much product near the moving parts. If a careful wipe-down does not help, avoid adding more lubricant and check whether the chair needs service.
When Should You Stop DIY Care and Call for Service?
Stop if the recliner keeps sticking, the motor sounds abnormal, the cord or switch looks damaged, or the noise gets worse after cleaning. Those are signs that the issue may be mechanical or electrical, not just cosmetic.
Do Wall-Hugger Recliners Need Different Care Than Standard Recliners?
Usually yes, because the compact mechanism concentrates dust and friction in a tighter area. That does not mean the whole chair is harder to clean, but it does mean the base and motion path deserve more attention.
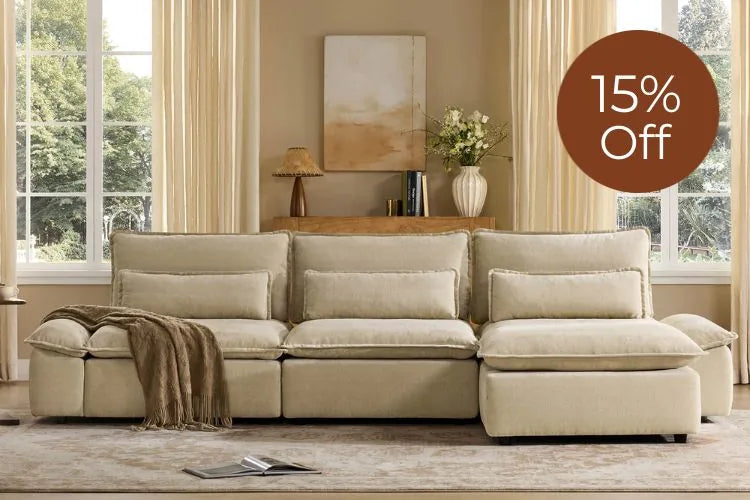
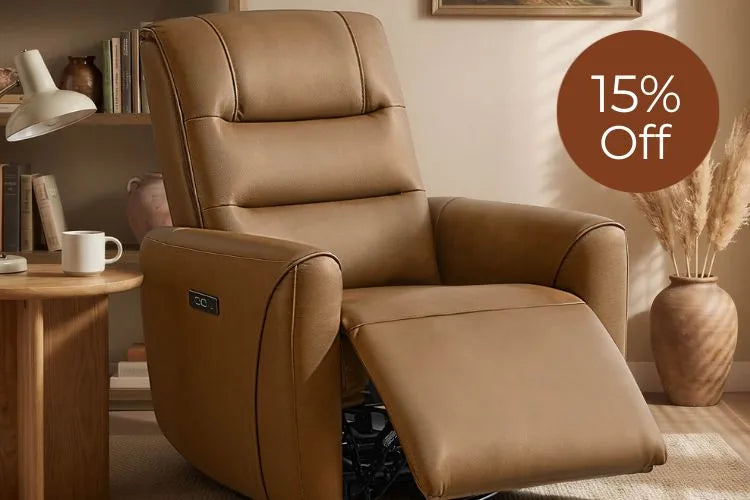
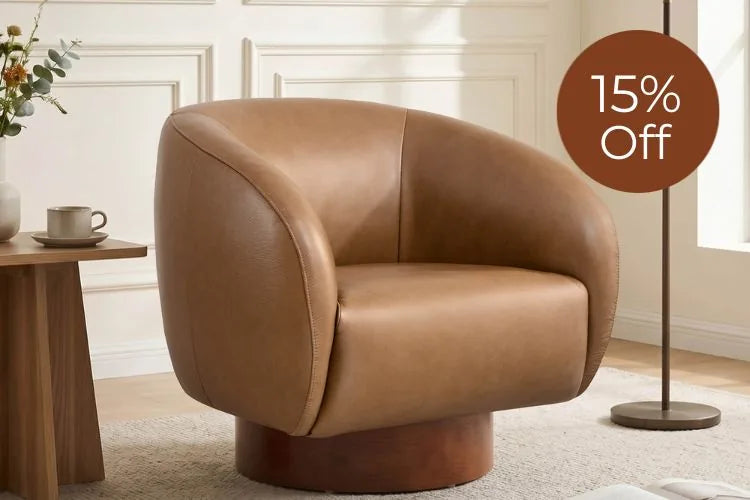
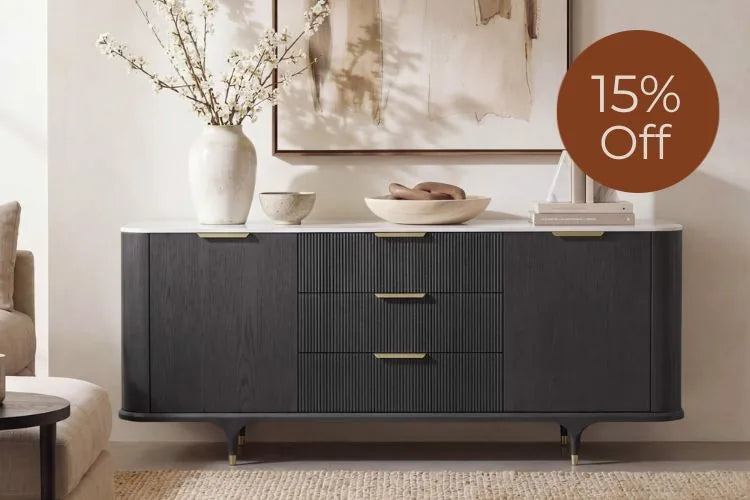
Recommended Products


More to Read
 7 Sofa Trends That Actually Improve Comfort in 2026
Upgrade your living room with furniture that supports your body. Here are 7 modern sofa features designed to maximize your daily comfort...
7 Sofa Trends That Actually Improve Comfort in 2026
Upgrade your living room with furniture that supports your body. Here are 7 modern sofa features designed to maximize your daily comfort...
 Mother's Day Gift Guide: Cozy and Stylish Furniture Picks for Modern Moms
Make Mother's Day more meaningful with furniture gifts that bring comfort, smart features, storage, and quiet luxury into her everyday routine.
Mother's Day Gift Guide: Cozy and Stylish Furniture Picks for Modern Moms
Make Mother's Day more meaningful with furniture gifts that bring comfort, smart features, storage, and quiet luxury into her everyday routine.
 Performance Fabric Reality Check: Does It Really Repel Pet Hair and Stains?
Performance fabric is often marketed as a miracle solution for homes with pets and kids, but the reality is more nuanced. It...
Performance Fabric Reality Check: Does It Really Repel Pet Hair and Stains?
Performance fabric is often marketed as a miracle solution for homes with pets and kids, but the reality is more nuanced. It...